News
The Ultimate Guide to 3-Way Switch Wiring: Step-by-Step Instructions
Introduction
A 3-way switch wiring setup allows you to control a light or electrical fixture from two different locations. It is commonly used in hallways, staircases, and large rooms to improve accessibility and convenience. Unlike a standard single-pole switch, which has only one on/off control, a 3-way switch setup uses two switches and additional wiring configurations to achieve multi-location control. In this guide, we will break down everything you need to know about 3-way switch wiring, including its components, wiring diagrams, installation steps, and safety precautions. Whether you’re an experienced electrician or a DIY enthusiast, this article will help you understand and execute a 3-way switch installation efficiently.
Understanding 3-Way Switch Wiring
What Is a 3-Way Switch?
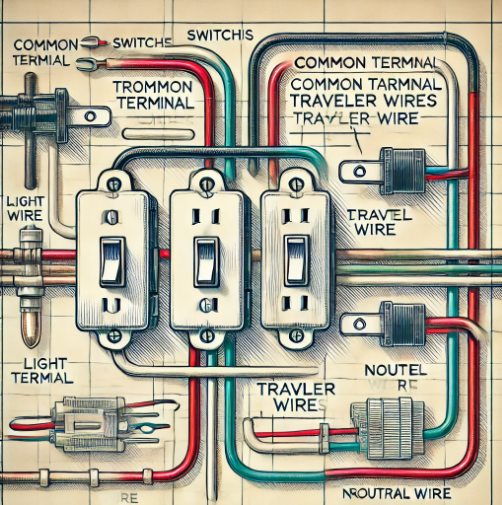
A 3-way switch is a type of electrical switch that allows you to control a single light fixture from two different locations. It is called a “3-way” switch because it has three terminals:
- Common Terminal (COM) – Connects to the power source or the light fixture.
- Traveler Terminals – Two traveler wires connect the two switches.
- Ground Terminal – Provides grounding for safety.
Components Needed for 3-Way Switch Wiring
To complete a 3-way switch wiring setup, you will need:
- Two 3-way switches
- A light fixture
- Electrical wires (black, red, white, and ground)
- Wire nuts
- Voltage tester
- Screwdriver and wire strippers
3-Way Switch Wiring Diagrams
There are multiple ways to wire a 3-way switch, but the most common methods are:
1. Power Source to First Switch
- Power enters at the first switch, travels through the second switch, and reaches the light fixture.
- The common terminal of the first switch connects to the live power source.
- The traveler wires connect between the two switches.
- The second switch’s common terminal connects to the light fixture.
2. Power Source to Light Fixture
- Power first reaches the light fixture, then extends to both switches.
- The traveler wires connect between both switches, with the light fixture receiving its power through the second switch.
3. Power Source to the Middle of the Circuit
- Power is supplied between the two switches, requiring a specific configuration for the traveler and common wires.
- This setup is less common but useful for certain applications.
Each method has its wiring arrangement, so refer to detailed diagrams when planning your installation.
Step-by-Step Guide to Installing a 3-Way Switch
Step 1: Turn Off the Power at the Circuit Breaker
Before beginning any electrical work, switch off the power at the breaker panel to prevent electric shock.
Step 2: Identify the Wires
Use a voltage tester to confirm that there is no power in the circuit. Identify the hot wire, neutral wire, traveler wire, and ground wire.
Step 3: Connect the First 3-Way Switch
- Connect the black “hot” wire from the power source to the common terminal of the first switch.
- Attach the traveler wires (usually red and black) to the traveler terminals.
- Connect the ground wire to the ground terminal.
Step 4: Connect the Second 3-Way Switch
- Connect the traveler wires from the first switch to the traveler terminals of the second switch.
- Connect the black “load” wire (going to the light fixture) to the common terminal of the second switch.
- Attach the ground wire to the ground terminal.
Step 5: Wire the Light Fixture
- Connect the neutral wire (white) from the power source directly to the light fixture.
- Connect the black “load” wire from the second switch to the light fixture.
- Attach the ground wire to the fixture for safety.
Step 6: Secure the Connections and Install the Switches
- Use wire nuts to secure all connections.
- Tuck the wires neatly into the switch boxes and screw the switches into place.
Step 7: Restore Power and Test
- Turn the circuit breaker back on and test the switches to ensure that the light functions properly from both locations.
Troubleshooting Common Issues
Even with careful installation, issues can arise. Here’s how to troubleshoot them:
1. Light Doesn’t Turn On
- Check if the circuit breaker is on.
- Verify that the common wire is correctly connected.
- Ensure that traveler wires are not swapped with the neutral wire.
2. Switches Work in One Direction Only
- One of the traveler wires may be disconnected or incorrectly wired.
- Check that both switches are wired correctly.
3. Flickering or Dim Light
- Loose connections can cause flickering—inspect wire connections.
- Ensure the bulbs are compatible with the switch.
4. Circuit Breaker Trips
- A short circuit may have occurred—double-check for exposed wires touching each other.
- Ensure that the neutral wire is correctly connected.
FAQs
1. Can I use a 3-way switch as a single-pole switch?
Yes, you can use a 3-way switch as a single-pole switch by connecting only one traveler terminal and leaving the other disconnected.
2. Do both switches need to be 3-way switches?
Yes, to control a light from two locations, both switches must be 3-way switches.
3. How do I identify the common terminal on a 3-way switch?
The common terminal is usually darker or labeled “COM.” It is different from the two traveler terminals.
4. Can I install a 3-way switch without a ground wire?
For safety and code compliance, a ground wire should always be used. Older homes may lack ground wires, in which case consulting an electrician is recommended.
5. What happens if I mix up the traveler wires?
If traveler wires are mixed up, the switch may not function correctly, and the light may not turn on from both locations.
Conclusion
Wiring a 3-way switch may seem complex, but with the right tools, wiring diagram, and step-by-step approach, it can be accomplished. Whether you are upgrading your home’s lighting system or installing a new switch setup, following safety protocols and troubleshooting issues as they arise will ensure a smooth installation. By mastering 3-way switch wiring, you enhance the functionality and convenience of your home’s electrical system while adhering to modern safety standards.